120 Minute: Your Newborn Baby
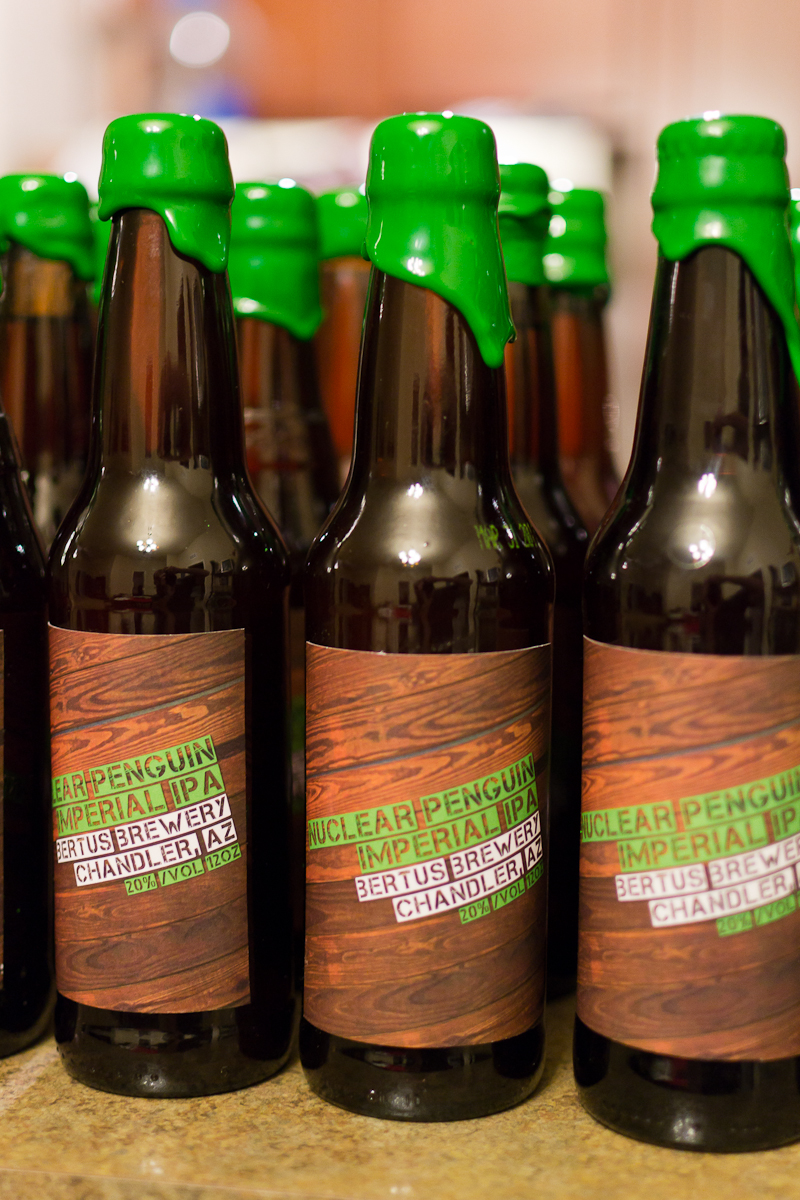
Brewing a 120 Minute IPA clone is much like having a newborn: It’s very temperamental, and it needs fed twice a day. In all seriousness, this beer is a lot of work. You need to be very organized, and very sanitary, as you’ll be messing with your fermenting wort daily. So here are a collection of tips and tricks I learned along the way that will help should you want to tackle this beer.
Aeration
This is a big one. Simply shaking your carboy isn’t going to cut it. You need an oxygen wand.* You’ll want to gas the wort before you pitch your yeast, and then gas it for the first two to three days after you pitch the WLP099. This beer is a grueling marathon for your yeast, and you need to keep them as happy as possible.
*The alternative to injecting pure O2 into your wort is olive olive. New Belgium did a huge study with a University in Belgium, and they found that a tiny amount of olive oil can replace the role of oxygen in wort aeration. I won’t get into too many details, but the process is: Sanitize a needle or pin, and dip it in some olive oil. We’re looking for the tiniest of drops; this isn’t something where more is better. Then stir the tiny drop into your yeast starter, and then repeat the process for the primary ferment. It works.
Gravity Readings
Take gravity readings during primary fermentation daily. It’s incredibly useful to know how active your yeast are when you are pushing them to the ragged edge. You’re already going to have the fermenter open to add sugar, so take a gravity reading while you are there. It takes 60 extra seconds, do it. This leads into the next point….
 Cleaning and Sanitizing
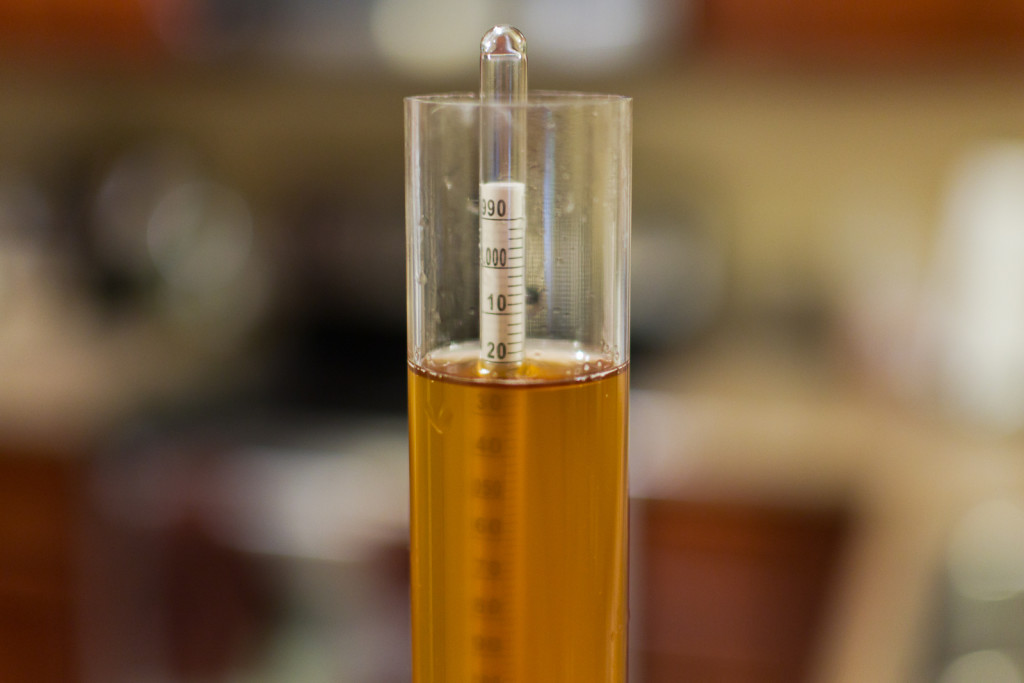
If you want to take gravity readings everyday, you’ll need to put your samples back into the fermenter, otherwise you’ll lose 1-2 gallons of wort. That means your hydrometer and test tube need to be sanitary. You’re also going to be pulling off 1-2 quarts of wort twice a day and whisking in dextrose. So keep a pitcher of Star San, I kept mine by the kitchen sink. Soak your hydrometer, test tube, whisk, wine thief(stainless steel turkey basters are awesome), and stirring spoon in star san whenever you aren’t using them.
The process I followed was: move the items into a clean empty pitcher, then fill that pitcher with star san, then pour it back out leaving an empty sanitized pitcher containing the whisk, hydrometer, stirring spoon, turkey baster, and test tube. I’d first take a hydro sample with the turkey baster, then stir up the primary with the spoon to get the yeast off the bottom. Next pull off 1-2 quarts into the pitcher with the baster, whisk in the dextrose, dump that back into the primary, and gently stir it in. Finally seal your fermenter back up.
Now clean everything before putting it back in the star san. Yes, it’s a total pain in the ass to do all that twice a day. Thankfully it’s only about 12-15 days, so suck it up. I can’t emphasize how critical it is to ensure everything is cleaned, then sanitized. You’re going to be sticking crap in your fermenter 24 to 30 times, so even the smallest amount of bacteria will get a 24x chance to get into your wort. It’ll just become routine after a few times. A spray bottle full of sanitizer helps for those objects that are longer than your sanitizer pitcher is tall.
Oxidation
Oxidation is always a concern with hoppy beers, and I’m telling you to pour, whisk, and stir your wort daily; that doesn’t sound like the a good idea. Don’t be too concerned with oxygen pickup as long as you are still adding fermentables. Every time you add sugar, the yeast will gladly scrub any oxygen that made it’s way into the wort. The second you stop adding sugar, oxidation becomes an immediate concern, so no more pouring, whisking, stirring, or doing anything that will mix oxygen into your beer.
Calculating the Gravity
A beer like this requires a healthy amount of math. It’s easy to calculate your original gravity at the end of the boil, but how do we calculate the gravity after all the sugar additions? It’s actually fairly easy assuming you keep accurate notes. 1lb of dextrose adds .007 gravity points to a 6 gallon batch, and .008 points to a 5 gal batch. So the math says each ounce of dextrose adds .0005 for a 6gal batch. Multiply .0005 by the number of ounces you add. Then add that value to your gravity. Say your OG was 1.100, and you add 12oz of dextrose. You’re OG is now 1.106.
The daily gravity readings are there to tell you how active the yeast are. If you measure the gravity at 1.020 in the morning, then add 12oz of dextrose, you know the gravity should be 1.026. Later that night, if the gravity is back to 1.020, you’ll know the yeast fermented all the sugar you feed them. This is very useful information because once the ABV starts to climb high, it’s a balancing act. You’ll need to feed the yeast to keep them active, but you run the risk of them tiring out and stalling the ferment.
 Managing the Ferment
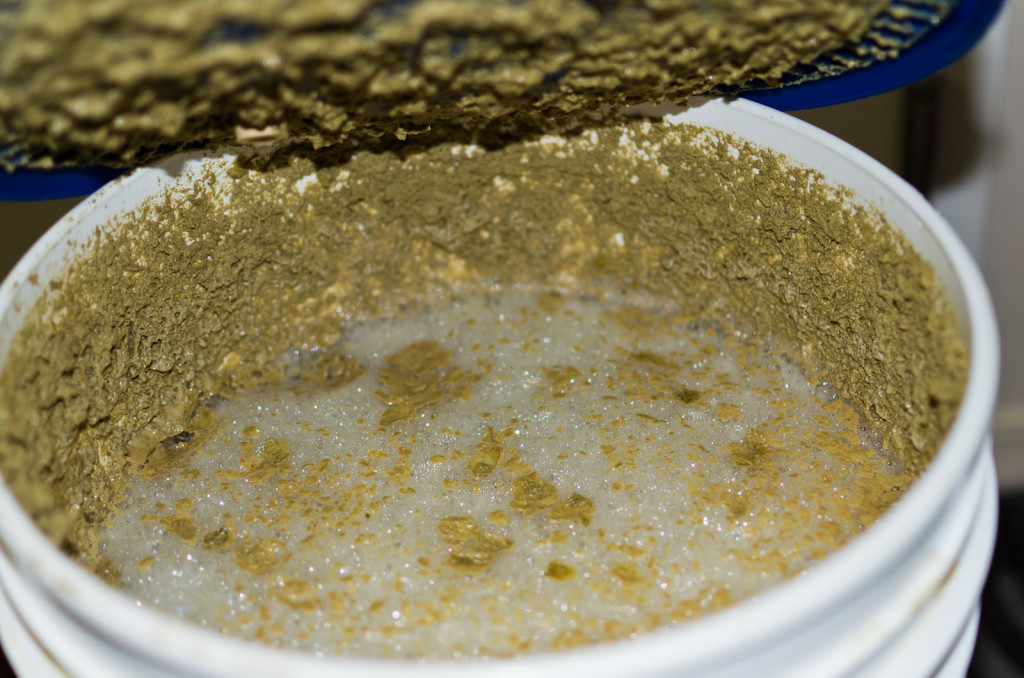
One of the biggest tricks in attenuating this beer is to manage the gravity. The WLP007 will tear through the malt-only wort in a matter of a few days. You’ll want to pitch the WLP099 once the gravity falls to around 1.020 or so, and start the sugar additions. The trick is to add enough sugar to keep the wort around 1.020 to 1.028, never much more, never much less. This reduces the osmotic pressure on the yeast, and keeps them much happier. Plus, should the yeast crap out early, you aren’t left with an overly sweet beer. Anything under 1.030 is drinkable, under 1.020 is ideal.
 Results
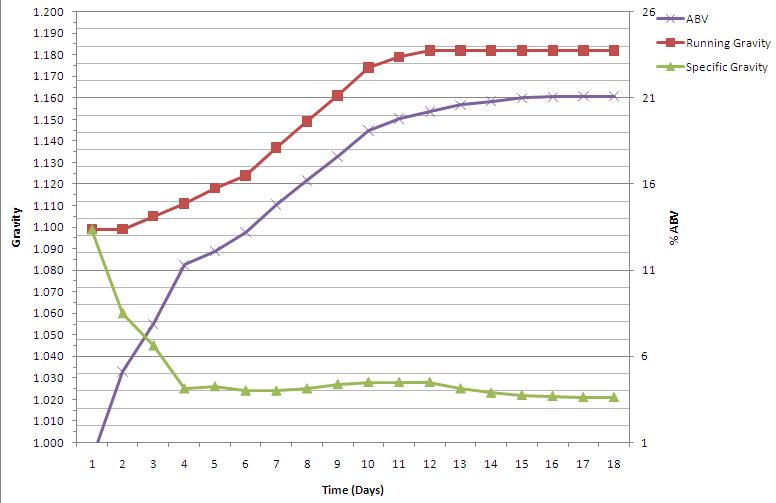
So how did my batch turn out? Rather well I’d say. The original gravity after all the sugar additions was 1.182! And the final gravity settled in at 1.021. Final calculated ABV of 21.1%, which I called 20% for good measure. I was fortunate enough to get a few bottles of the real 120 Minute, so we could do a side by side tasting.
Mine: 21.1%: A little more of that sticky, candied raisin-like malt aroma than the Dogfish. A little less hop character. Bitterness was spot-on. carbonation was quite a bit less. This was carbonated to around 1.5 vols, the Dogfish version was quite a bit more, which might explain the more pronounced hop aroma.
Dogfish: 15-20%: Exact same sticky, candied raisin quality in the aroma, but it’s a little more balanced with hop. Much more carbonation, I’d guess around 2.0 vols. Bitterness is the same, as is the alcohol character: dominate, but not biting. It’s possible this had 5% less alcohol than mine, which would be a big difference. That would also explain why mine had more of that pronounced malt character, and less hop character. I’ll never know for certain though.
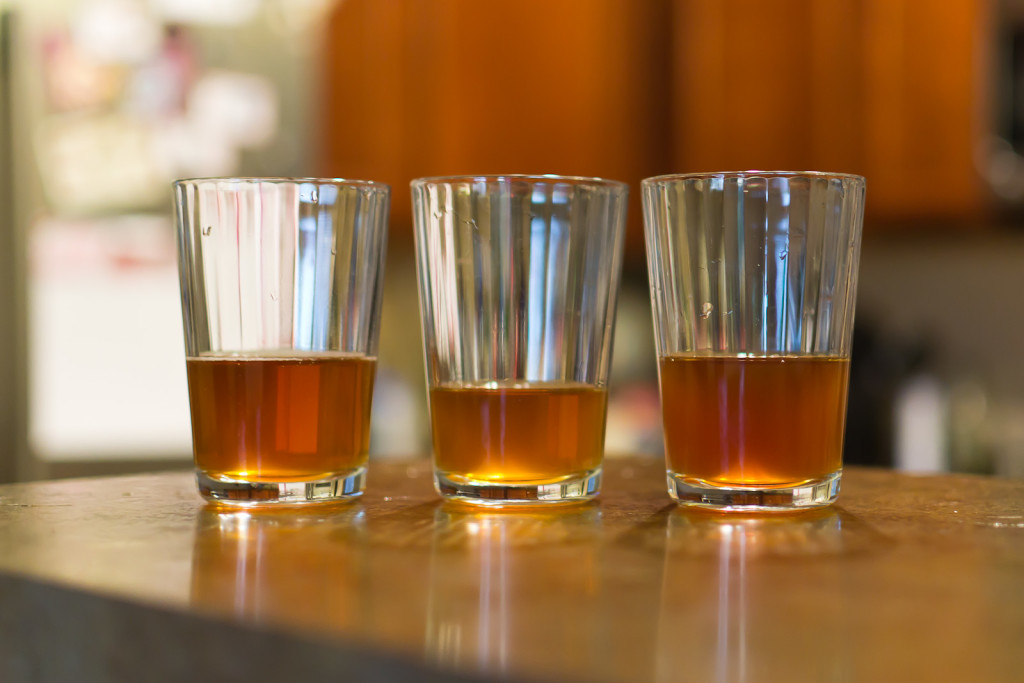 All in all, I’m definitely splitting hairs; the two beers tasted identical. I’m pretty confident I could have Sam taste mine, and he would say: “Yep, that’s 120 Minute.” Despite it’s tedious nature, this beer was a blast to brew, and I’m definitely looking forward to brewing my next version, which will be a little more to my taste. I’ll say that brewing this beer gave me a new-found respect for 120 Minute. I completely, utterly understand why this beer costs $10 per 12 ounce bottle.
That’s about everything I can think of. Hopefully this post, and the last will help someone else brew this beer. I have to give some props to a few of the guys on HomeBrewTalk who paved the way before me, as well as Sean Paxton and the folks on the Brewing Network. Their two hour show is a wealth of information, and is well worth listening to. Good luck to anyone who attempts this beast of a beer, and please let me know how it turns out should be brew it. Cheers!
When you are talking about sanitation, I have what I thought was a brilliant idea for sanitizing long items. I have been using this for about a year. I got a wall paper tray for about $2.50 at the hardware store. it is 30" long and holds about 1/2 gallon of sanitizer. Everything that I have that is long: Mash paddle, wine degasser for aeration, auto-siphon, bottle filler, hydrometer, thermometer, etc. all fit in there and are thoroughly sanitized top to bottom.
That's brilliant. I'll definitely do something like that soon.
Hi Scott, I love the wax on those bottles. Where did you get that? If you did it yourself, how did you do it?
Scott, I'm planning a barleywine brew and want to add wlp099 as my primary yeast slows down liek you do with this one. wlp023 is my primary. My question is can I just make a starter of 099 and pitch it in a few days in or do I need to add dextrose and olive oil? to the starter/ ferment to get this where I want it. Target OG 1.135 target fg 1.020 or under.
Thanks!
I didn't add dextrose to my starter. Do add a drop of olive oil if you aren't adding O2 directly to the starter.
I did the drop(and it was tiny, I had to mix the needle into the starter to get it off the needle lol) of olive oil to the starter and airlock was still fairly active when I added the HG yeast starter so I only added 6oz of dextrose into the fermentor. I think my Burton ale starter was big enough that it shouldn't need too much help from the HG yeast to get it where I want it.
I am interested in the addition of olive oil as I do not have an oxygen wand. Is it meant to be used in addition to a shaking-the-fermenter aeration?
Scott, I would count my experiment w/ HG yeast a success! I made the starter w/ the small Olive oil drop and added 0.25lb dextrose to the fermentor at the same time as the HG starter. after a little over a week I moved the batch to a secondary carboy for extended aging. I missed my OG on brew day but the HG yeast more than made up for it. OG 1.115 FG upon moving 1.005!! Thanks for all the posts you do, it is an invaluable resource for me.
It was meant to replace. Google 'New Belgium Hull Olive Oil', and you'll find a link to the research paper about it.
So my brewing mentor Shawn (http://www.brewnundrum.com/) used to proscribe Olive Oil for years based on New Belgium experimenting with it several years back. About two years ago he was challenged by some guys in the club of he revisited the subject with NB. See below
An Update on the use of Olive Oil by New Belgium Brewing Co.
From: Grady Hull the Assistant Brewmaster of New Belgium Brewing
Sent: Tuesday, November 29, 2011 9:02 AM
Subject: Use of Olive oil instead of aerating wort
Hi Shawn,
I tested using olive oil as a yeast nutrient to replace wort aeration with the hope of improving the shelf-life of our beers. The idea is that instead of giving the wort oxygen so it can remove a hydrogen from a saturated fatty acid, we give the yeast a monounsaturated fatty acid (oleic acid), with the hope that the reduced exposure to oxygen will result in better shelf-life.
Unfortunately the gains we saw in shelf-life were minimal and did not justify putting in an elaborate olive oil dosing system. I personally wouldn’t recommend it for home brewing since slight differences in shelf-life are less important. The best thing we have found for keeping beer fresh in a bottle is still just to leave some live yeast in there.
We use filtered air most of the time unless we are working with a difficult yeast strain, then we use O2.
Hope this helps,
Grady
Very interesting!
He really doesn't mention that it doesn't work though, he just mentions the gains weren't worth the cost to implement a new system. It sounds like for the homebrewer without an O2 system, that it's a good alternative.
Having an issue with "foam overs" when adding the whisked sugar/wort sample back into the bucket. When I pour it back in (tried fast, slow, stirring, nothing seemed to make a difference) the beer would foam and rise up and over the top of the bucket. We are talking grade school baking soda volcano. Did you have those issues Scott? Any suggestions for not making a complete mess?
I am really confused, how much hops do you add for the dry hop per each week for the three weeks of dry hopping? SOMEONE PLEASE ANSWER ASAP I AM DRY HOPPING CURRENTLY AND NEED TO GET THIS UNDERWAY. I CAN BE REACHED AT JMDAVID81@YAHOO.COM
Good sharing, I would like give my personal input, Yanagida Yeast restores balance with the deepest probable level inside you – as well as the weight decline that follows is actually astounding. For consistent and effective weight-loss, your body relies on a fat-splitting as well as fat-burning enzyme often known as lipase. Along with Yanagida Yeast, your lipase pastime is supercharged, making the item easier to lose fat tissues. Read more at:
http://kidbuxblog.com/yanagida-yeast/