Beer, Yeast, and Pizza?

We cook a lot at home, and while I don’t fancy myself a chef by any stretch of the imagination, I do know my way around a kitchen. So lately I’ve been leveraging my ample supply of brewer’s yeast to ferment other things… like pizza dough!
One of the handy things about being a home brewer is that we have a near-constant supply of yeast on hand. It’s really convenient, as brewer’s yeast and baker’s yeast are both saccharomyces cerevisiae. Although brewer’s and baker’s use different strains, brewer’s yeast will gladly get to work on fermenting some dough.
I do like to make use of brewing by-products as much as possible, and while I’ve made spent grain bread in the past, spent grain pizza just doesn’t work as well. I find the spent grain makes the pizza dough heavier, denser, and less… tasty. I have found another by-product from brewing that works well in pizza dough though. Beer! Substituting some, or all, of the water in a dough recipe for beer gives a beautiful flavor to the dough.
Today we’re using Jim Lahey’s popular no-knead dough recipe. I’ve tried a number of dough recipes, and this one works just as well, but without the hassle of kneading dough. I forgot to take pictures of the mixing steps. It’s easy though, just stir.
Mix:
500g Flour (AP if you plan to ferment warm, I like bread flour better when fermenting in the fridge for a few days).
16g Salt
350g Water (which is roughly 1.5cups, which is conveniently 12oz)
1g Active Dry Yeast (10-20 Billion cells or ~10-15ml of yeast slurry)
Stir until thoroughly combined. I start off with a fork or spoon, and then switch to using my hands once it comes together. I like to replace the water with beer.; let it warm up a little before adding. Spray some cooking spray in a bowl, plop the dough in said bowl, cover with plastic wrap, and allow to rise for 12-18hrs at room temp, or 2-3 days in the fridge. The dough will at least double in size. If I can remember to make the dough ahead of time, I prefer the flavor of a slow, cold ferment better.
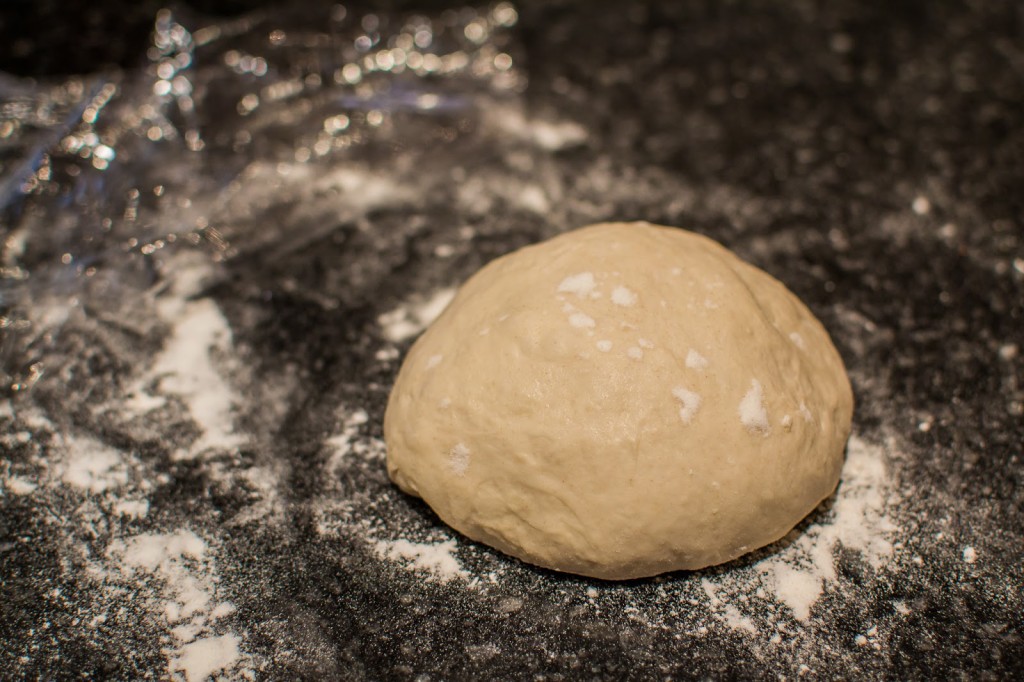 I remembered to take pictures at this point! So now that the dough has risen, and it’s time to divide up into dough balls. Turn out the dough onto a floured working surface, and knead 2-3 times to form a big ball. Divide the dough into 3-4 sections (depending on how large you like your pies), and form into balls.
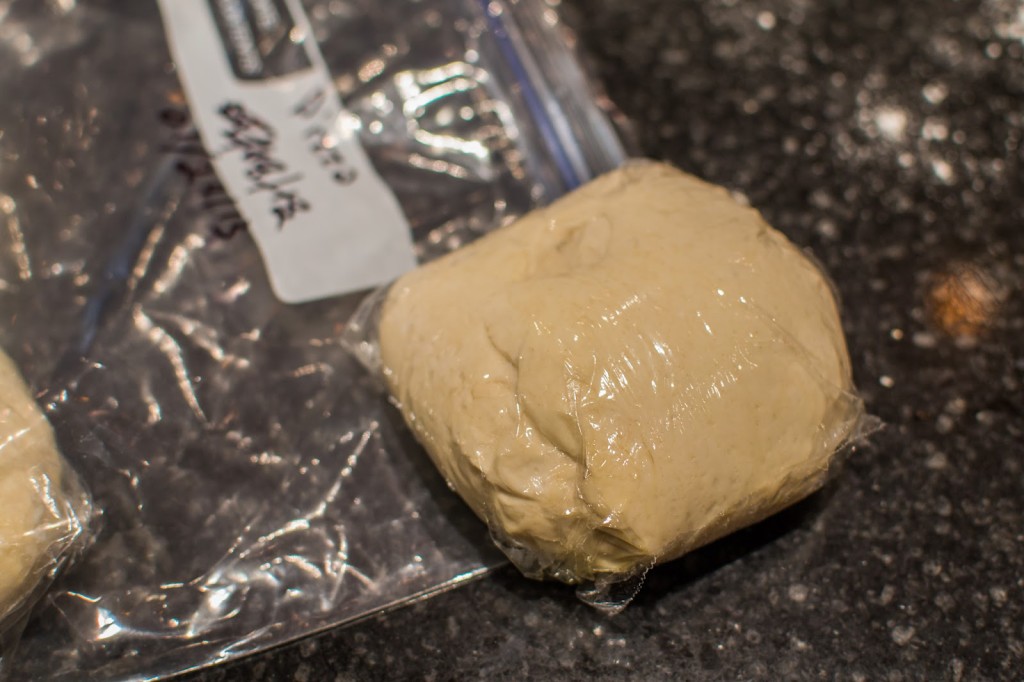 At this point, I spray some plastic wrap with cooking spray, and individually wrap all but one dough ball. They freeze well, and it’s super convenient for making pizza on a weeknight.
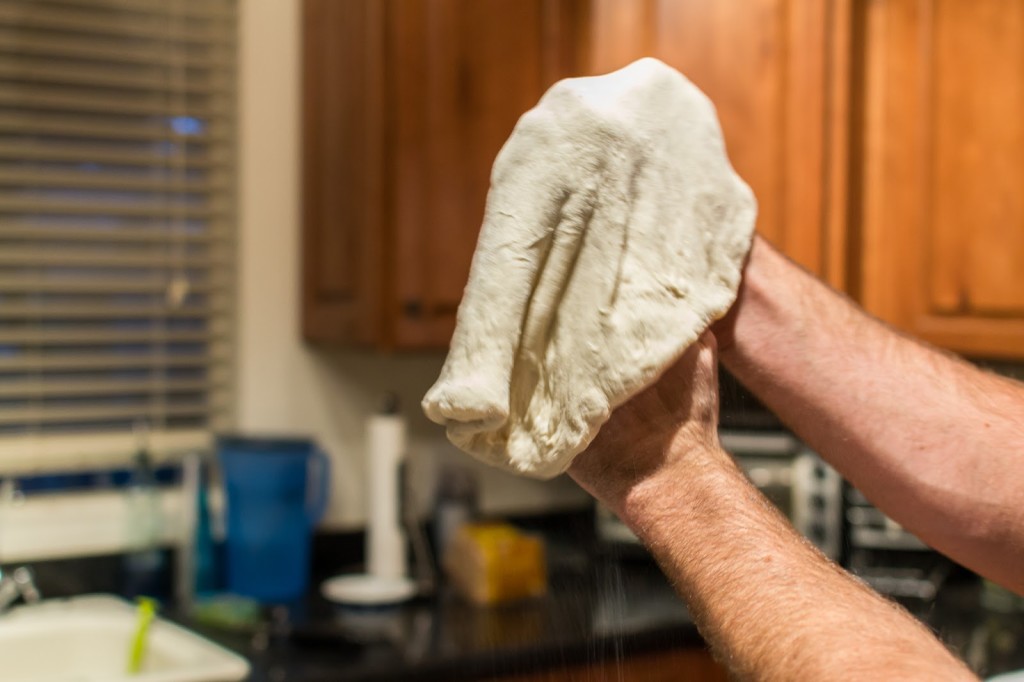
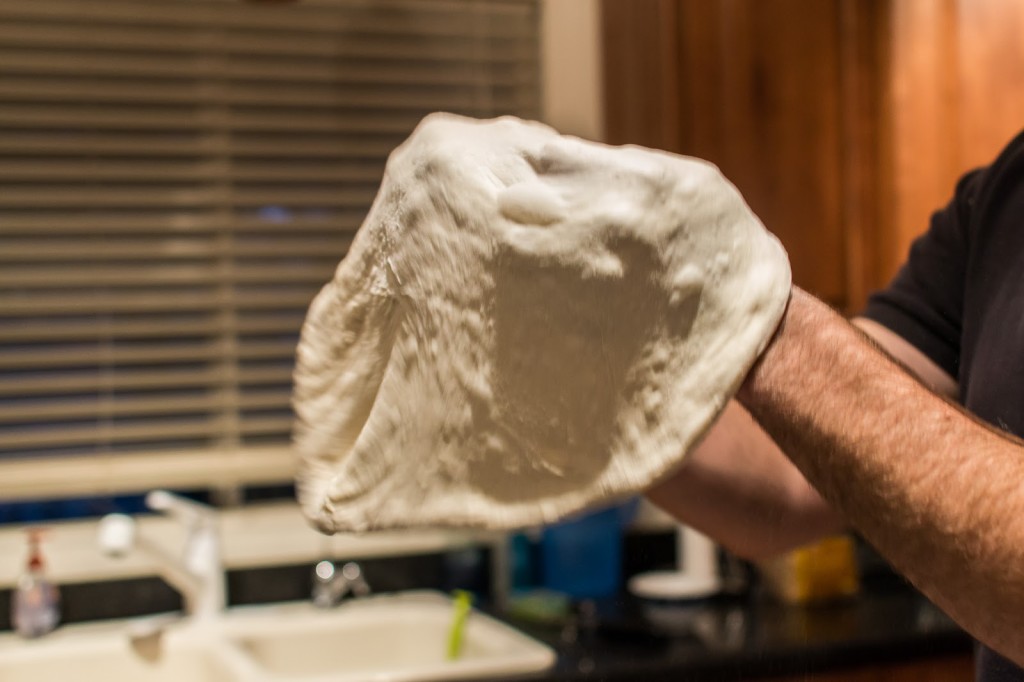 Now for the dough we’re going bake. Let it rest on the counter, covered, for another hour or two. The dough should be pliable and easy to work with. If it springs back too much when stretched out, or wants to tear, let it rest for another 30min or so. Start by carefully working the dough in your hands to stretch it out. I find it much easier to work from the edges, rather than working from the middle. You’ll want to make the pie slightly larger than intended, as it’ll spring back slightly before you get it in the oven.
 Top the pizza with whatever you like. I’m keeping it pretty simple today. Crushed tomatoes, fresh mozz, basil, and a little pancetta. As for the oven, you want it pre-heated and SCREAMING hot. I pre-heat to 550 with the pizza stone near the top of the oven. Right before I slide the pizza in, I’ll turn the broiler on high to get it really, really hot.
 Slide the pizza onto the stone. A pizza peel really comes in handy here, but you can use just about anything in a pinch. You’ll notice my piece of cardboard. Keep a very close eye on the pie; we’re talking three, maybe three-and-a-half minutes. Then pull out your beautifully crispy, but airy pie.
The two things that really make the pizza are: A. A pizza stone that is screaming hot. You don’t need to spend a ton of money to have a pizza stone. Unglazed tile for Home Depot works great for a couple dollars. B. You need to let the dough rest for at least an hour before you stretch it out. This is critical. It will be very difficult to form into a pie, and it won’t bake up as well if you skip this step.
Ah, there’s nothing quite like beer and pizza. Especially when you’ve made both yourself!


I've been planning on making some pizza with beer after realizing my favorite local pizza place uses Surly beer in all their dough, but didn't think to use beer yeast as well. Thanks for the write-up!
Great write up Scott. The fact that you write such great info on your Blog all free for us to enjoy (an so frequently) is just fantastic. Thank you for all your work. I love reading your blog.
Thanks, I appreciate it.
Ya, it really cuts down the cost of dough
I was just about to look for a similar recipe, going to try this Friday (so probably need to get to work on this tonight or tomorrow). Couple of questions though:
I assume you're doing this with ale yeasts, any problems with them not working well at cooler temps in the fridge or is it a non-issue?
What style beers do you typically use for this and does the flavor come through in the crust?
Thanks!
Ya, ale yeast. I've done it twice with a warm ferment, but once with a cold ferment, and it seemed to work fine. Worst case sceanario, if it doesn't rise in the fridge, take it out and set it on the counter. In 8-10hours, you'll get plenty of fermentation.
As for the beer, stick with something not-bitter. I've used my scottish ale, and the english pale ale I now have on tap. The beer flavor comes through a little. Mostly as additional malty-ness.
Very cool! I wonder… do different yeast strains impart any flavor differences in dough, as they do in beer?
Good question. I'm just guessing, but I doubt it would make much of a difference. I didn't notice a flavor difference from bread yeast to brewer's yeast.
[…] homebrewer’s thread has a soft pretzel dough recipe that uses leftover beer yeast. Bertus Brewery also has a delicious, crispy, chewy pizza crust recipe made with trub yeast […]