Back from the dead – Let’s Talk Hazies
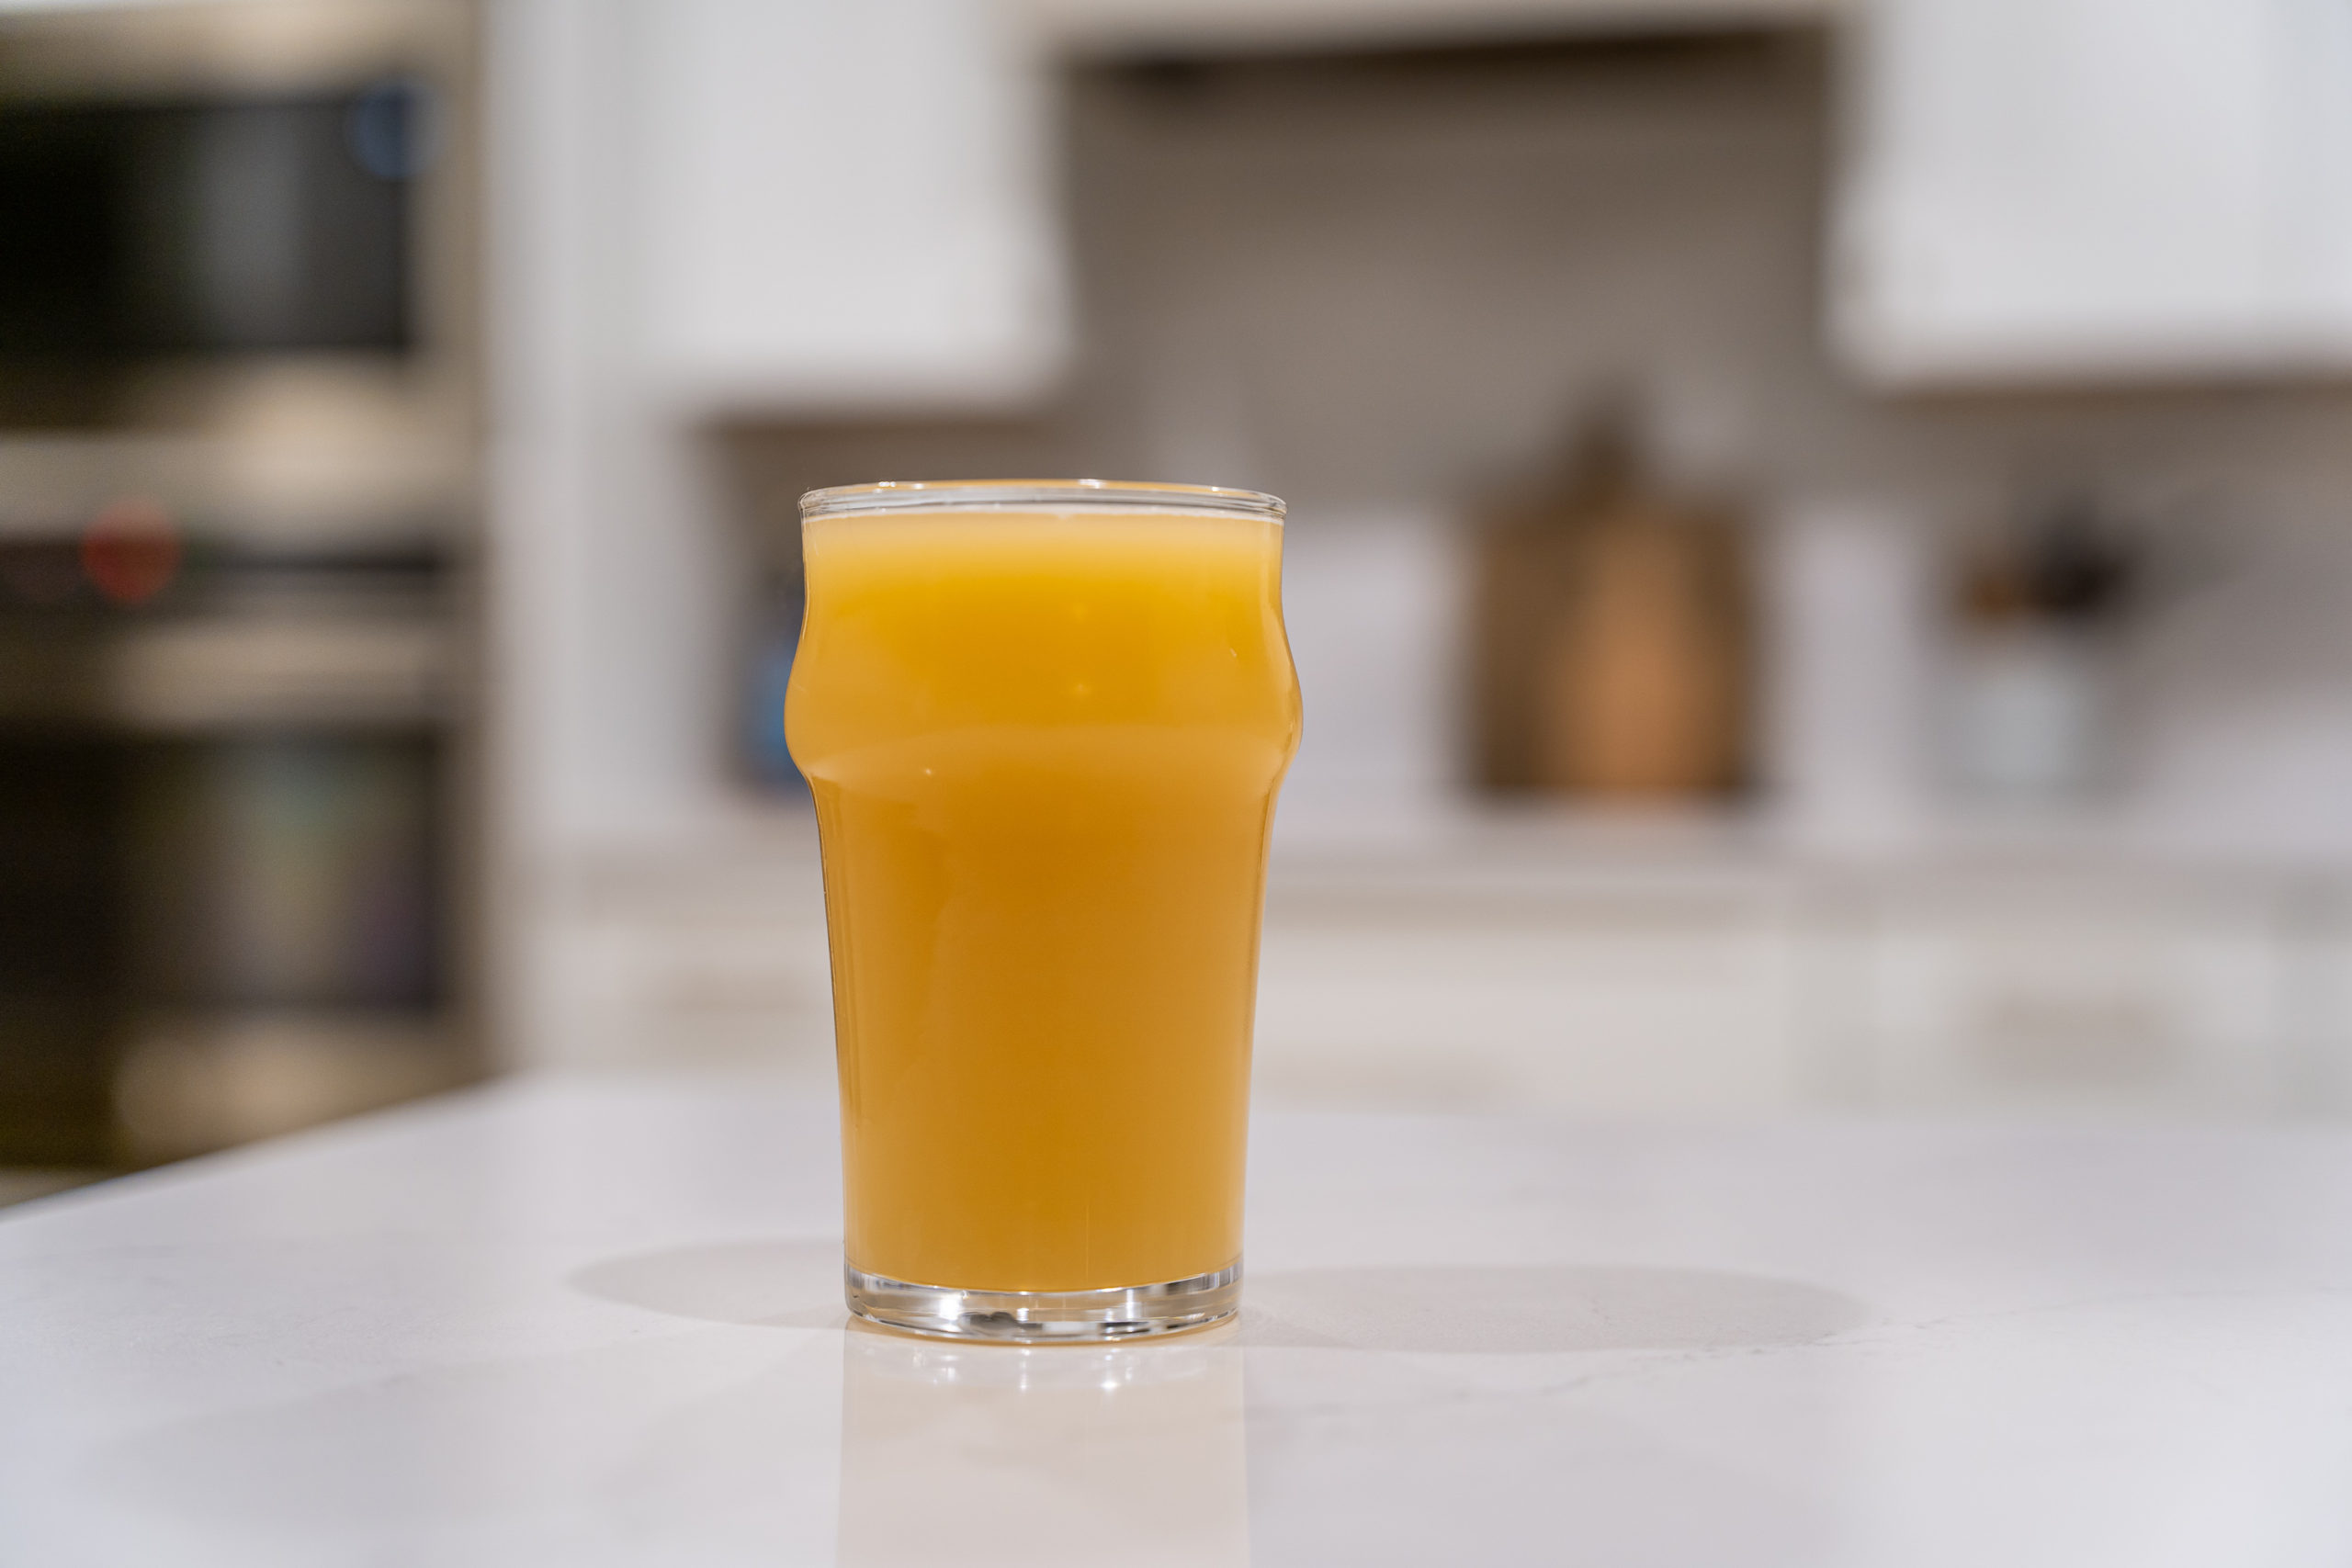
It’s been 5 years since I last posted here which seems like an eternity ago.
Back in 2012-2014, I was brewing 20-25 batches a year, and I was super passionate about brewing. It was the primary hobby that consumed my free time. But there’s a funny thing about being a content creator related to a hobby, the need for content starts to drive your hobby, not the other way around. I found I was brewing new recipes, or trying new things more to feed the blog, and less because I wanted to as a home brewer. I don’t want that to sound negative, I loved everything i was doing at the time. But when you sit around any think “What am I brewing this weekend?” your answer is likely different when you’re going to write about it for thousands of people to read.
Over the years I started to brew less, and with the time I did dedicate to brewing, I was making the same recipes that I enjoyed drinking. I felt like I had come to the point where I wasn’t adding as much to the conversation. My blog had sort of became a brew log of sorts, and I wondered if people really gave a shit about the same IPA I’d posted 8 times already.
Around 2016 I hit a slump. I made a few IPAs in a row that had quite a bit of diacetyl, and i couldn’t figure out why. They weren’t diacetyl bombs(not everyone noticed), but it drove me nuts trying to solve. In hindsight I’m almost positive the issue was Hop Creep (more on that later); a problem I was woefully incapable of figuring out on my own as a home brewer. So that kinda killed my desired to make IPAs for awhile, which was most of what I brew.
Around the same time, my wife and I bought a house that needed a lot of work, and between that and a new job at the time, brewing took a backseat. There was a good 2 year period from 2017 to 2019 that my brew system just collected dust. But I’m happy to say that I’ve been consistently brewing 8-12 batches a year again for the past 3 years.
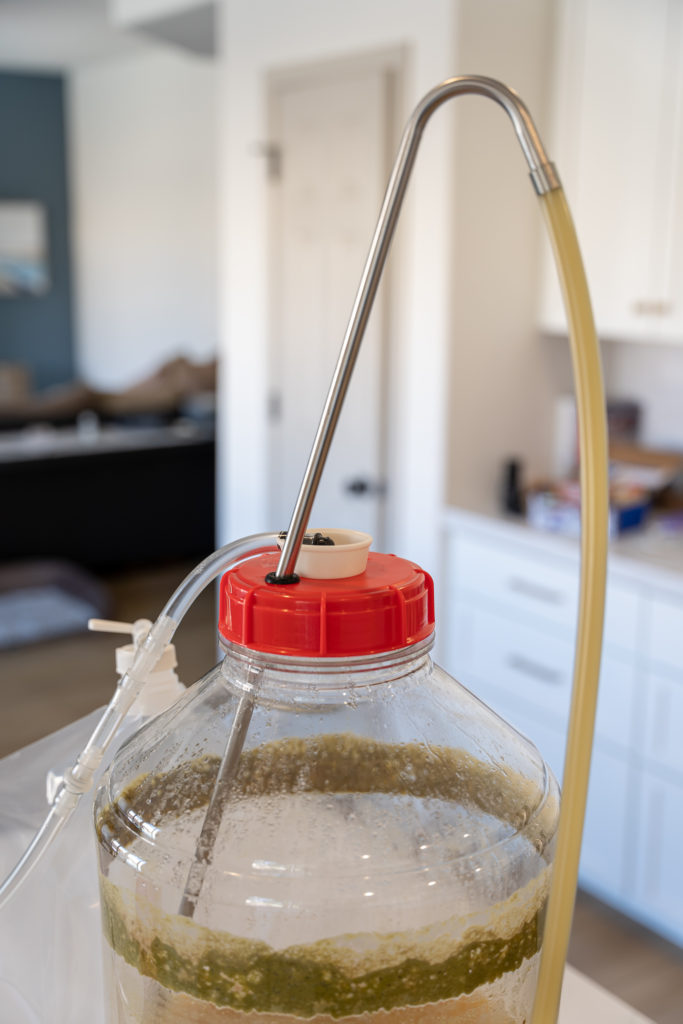
So that’s more or less where things ended up. I’ve kept the blog running because I feel like it’s a still a good resource for a lot of folks even if quite a few of the recipes aren’t as en vogue as they once were. But lately I feel like I do have a few things that are worth adding to the conversation again. So here’s something I didn’t really see happening: some new content. I don’t plan on ever brewing and writing at the pace I did 10 years ago, but if I have something relatively unique to share, I hope to post from time to time.
So with that said, let’s talk about the most popular and arguably basic beer style in the world Hazy IPA. Why the hell am I writing about this now? Well, it was the beer that got me back into brewing again. I saw it as the first challenge after a long hiatus. Now I’ll preface all of this with, there are tons of fantastic resources out there on the topic. I don’t plan on telling you this is the only way to brew hazies, shit, it might not even be the right way to brew hazies, but this is how I brew them, and they’re finally at a point where I’m pretty proud of them. FYI, this post will be much more of a discussion about process than anything else. Don’t worry, there’ll be a recipe at the bottom, but the recipe really isn’t the key here. And that’s why I wanted to write about this one. My current favorite hazy IPA recipe is pretty simple, but that doesn’t even get you half way there.
Water: Soft. I brew hazies with really soft water. I live in Arizona, and the water here is the opposite of soft; it’s almost hard enough to walk on. My RO system spits out 20ppm water when its membrane is new, and about 70-100ppm water when the membrane is getting old and needs replaced. I add zero salts to the water when it’s 70-100ppm. I’ll add about 1/2tsp per 5gallons of calcium chloride when it’s at 20ppm. So as a guide, know what your water profile is, and less is more.
Malt: Simple. There’s a few things here that are mandatory in my mind, and the rest you can play around with. I like 15-20% high-protein malts like wheat and oats. I can’t for certain say you have to use high-protein grains, but it sure makes getting a stable hazy much easier.
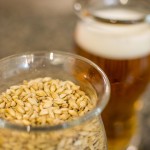
Use zero crystal malt. I forget the brewer’s name that said it, but Hazy IPAs with crystal malt taste old right out of the fermenter. Beyond that, you can play around a little bit. Personally i really like the subtle flavor that torrified wheat adds. I wasn’t getting enough body out of that alone, but adding some flaked oats rounds out my preferred malt bill nicely. You can use really any pale malt. I know of some breweries that use pils malt as their base when they’re chasing after the lightest color they can get, but do whatever you like. My malt bill is just Pale malt, torrified wheat, oats, and acid malt for pH adjustment (which I add to almost all of my beers).
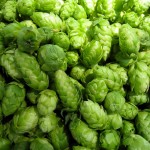
Hops: Here’s the area where you really have some latitude. I’ll include the quantities I like for a 7-8% beer in the recipe below, but you can pretty much do whatever the hell you want here, so long as you: Keep the boil hops to a minimum, and dry hop the crap out of it. I use just enough hops during the boil to keep the foam down (a measly 4g of Apollo). As far as varieties go, you do you. Any of the newer tropical, stone fruit, or citrus heavy varieties work great. There are a few things to think about when it comes to hop choices. I heard a really great quote from the guys at Cellarmaker, and to summarize: There are hops that can drive the bus, and there are hops that are along for the ride. Make sure the majority of your hop additions are hops that can drive the bus. For me, that’s hops like Strata, Citra, Galaxy, Mosaic, and Azacca (to an extent). Those hops are super impactful, typically very oily, and can carry a beer on their own. I try to make sure that my recipes are at least 60% hops that can drive (you can totally go up to 100%). There’s still a ton of merit in including hops that are along for the ride; they can add a lot of nuance to a beer. For the remaining 40% (or less), I play around with all kinds of stuff. Ekuanot, Idaho 7, any of the good ‘ol west coast standbys, or most any of the New Zealand hops. For what it’s worth, I’m currently gushing over Strata mixed with just about anything.
Reducing DO: Before we talk about dry hopping, this one needs its own section. If you’re not new to brewing IPAs, you already know that keeping oxygen away from your beer post-ferment is critical. But, since this can’t be overstated, let me make sure to emphasize it: At the homebrew scale, I’ve found that absolutely nothing else makes a bigger impact on my Hazy IPAs than reducing dissolved O2 by every means I can. Here’s some of my findings and tips. First, make sure your fermenter seals up nice and tight. This sounds silly, and I’m not saying you need to go spend $300 on a stainless fermenter. But I did find that my cheap, beloved plastic buckets were leaking air around the seal. So despite my best efforts to prevent air from getting in during a cold crash (more on that in a sec), air pulled in through the seal. I’ve found the $35 Fermonsters to seal up nice and tight (tight enough you need a plastic wrench to remove the lid afterwards), and that’s solved that problem for me. I’m sure carboys and stainless fermenters also work great.
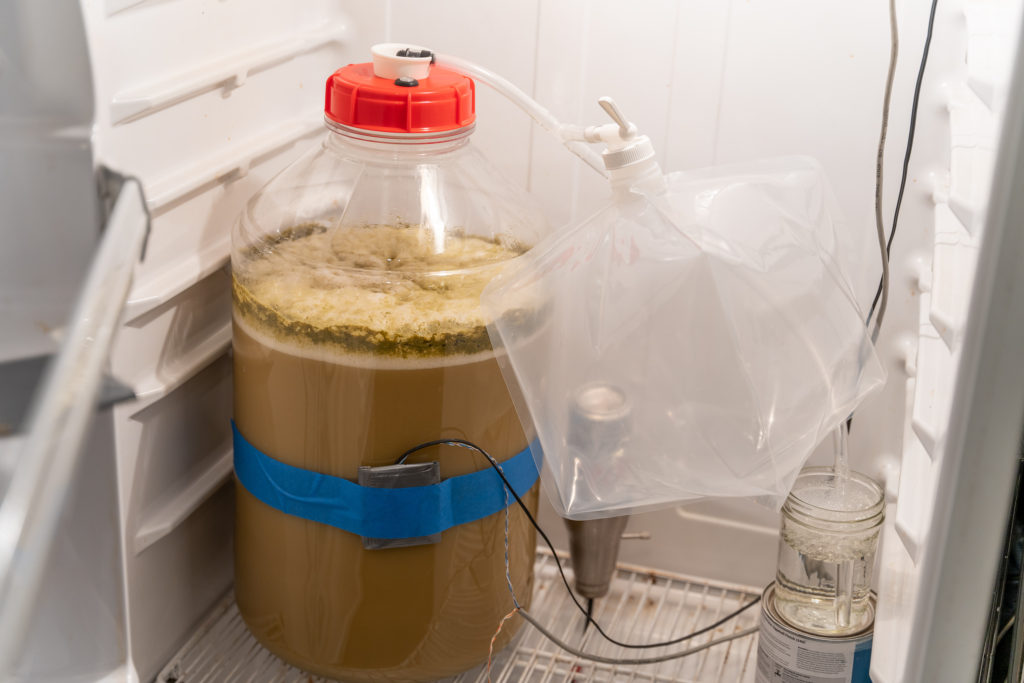
Secondly, work out some means of providing CO2 to your fermenter when you cold crash. PV = nRT tells us that when you drop the temp of your fermenter, the pressure drops. And a pressure drop will mean that your fermenter is going to be pulling in gas through your airlock. I’ve filled balloons with CO2 and attached those to the airlock. I’ve used nitrile gloves filled with CO2 when i ran out of balloons. Pretty much anything will do the job. If you have some way of hooking up a ball lock to your fermenter, hooking up some CO2 set to something like 0.5PSI would likely be ideal. Lately I’ve been using the Cold Crash Guardian from Bobby over at brew hardware. It’s worked great for me for the past 2 years or so, although to be frank, I’m still not exactly sure how to properly sanitize it (or even if i need to).
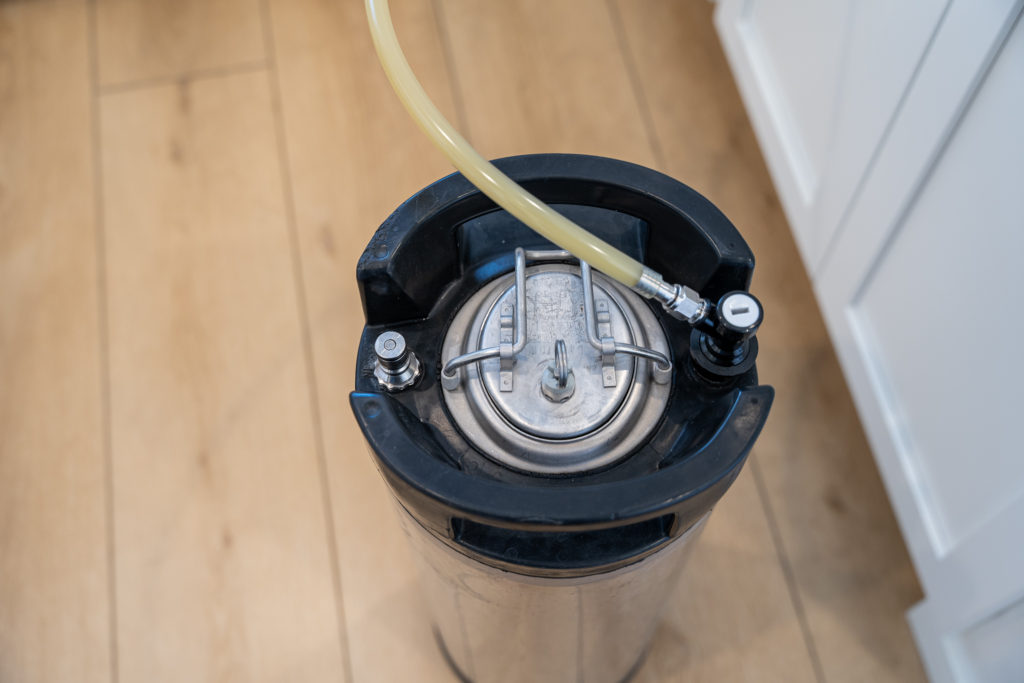
Lastly, you want to find some method of doing closed, or nearly closed transfers. The best method I’ve found without spending the money on a stainless fermenter is to get an extra liquid out ball lock connector, and a flare fitting with a large hose barb (i think mine is 3/8″), and use that to fill your CO2 purged keg through the liquid out post. You’ll need to crack the pressure relief value to keep the beer flowing. I slip my racking cane through a grommet in the lid of my fermenter. This solution isn’t perfect, but it’s about as good as I can do without spending big money on stainless gear. The CC Guardian provides enough CO2 to rack about half the fermenter, and then at that point, I crack the lid. I’m looking into rigging up a gas ball lock fitting on a fermonster lid, that may get re-visited later.
Oh, last, last thing. Potassium metabisulfate. The folks over at Brulosophy did some great testing on this. Adding half a campden tablet to the keg prior to racking the beer in is cheap insurance against oxidation. And from my experience 0.3g is well under the threshold where i can taste it. Now with the O2 PSA out of the way:
Yeast: I don’t need to add much here. Pretty much everyone knows the yeasts for Hazy IPAs. London Ale III, Conan, Verdant (which is likely LAIII), London Fog, even Kveik strains all work great. I’ve personally gravitated towards London Ale III (and more specifically the dry Verdant strain), but I’ve made great beers with all the strains listed. Kveik probably deserves it’s own post, at some point, as I find it over hyped, and some of the mythos around it is frustrating, but it’s basically a gift from god for beginning brewers in warm climates.
Specific to Conan and LAIII, I’ve found my best results have came from slightly under pitching. My current go to is one 11g pack of Verdant into 1.070-1.075 wort. One last note, I’ve found that Conan and London Fog attenuate a decent amount more than London Ale III does, at least when under pitched. You might say, oh, then don’t under pitch, but I really like the flavor profile I get. 6-7% beers finish out fine, but it seems to struggle to get my 7-8% beers to finish where I want them. I’ve found adding a couple percent of corn or cane sugar is an easy fix to that issue.
Dry Hopping: This one is a bit complicated, and honestly the area where I had to experiment the most to find what worked best for me. I still think there’s some tweaking to do with the qualities of my first and second additions, but the following has yielded my best beers yet.
I use around 3-3.5 lbs/barrel of hops for a 7.5-8% beer. That’s split with around 75% of the hops going in the first addition, and 25% of the hops going in the second. I would probably experiment with adding a larger dry hop, but considering i can’t drop the trub in my fermenter (and don’t want to risk picking up any DO with an additional transfer), i’ve found that when i use more than 9-10oz of dry hops, there’s too many whole pellets in the trub that never broke up and distributed in the beer. Now that is going to vary based on timings, yeast strain, and equipment, but for me, that’s been my practical ceiling.
I’ve tested a few times if I can tell a difference adding the first dose of dry hops during fermentation, or right after, and I haven’t found much of a difference in hop character. I’ve settled on adding them right after the peak of fermentation, but still with plenty of yeast activity. The main reason is cheap insurance against oxygen. I don’t have a hop doser (nor do I plan on buying one), so there’s always going to be a little O2 picked up while adding the hops to the fermenter. Having active yeast at the same time helps me sleep better at night. I also feel like it speeds up the hop creep process.
Speaking of hop creep, this is tricky. For those who don’t know what hop creep is, I suggest doing some reading. The topic is extensive, and there isn’t a foolproof way to work around it. As a quick recap: in the mid 2010’s the hop industry began drying their hops at lower temperatures to better retain hops oils and aroma. As an unknown side-effect, this left more enzymes present in hops to survive the drying and pelletizing process without being degraded. High hopping rates post-ferment (aka dry hopping), leads to some additional enzymatic activity post-ferment, which breaks down longer chain starches. The end result is, a few days after a large dry hop, there are additional fermentable sugars that the yeast will consume. This leads to a uptick in VDKs, and if the beer is kegged too soon before the VDKs clear, you can end up quite of a bit of diacetyl in the finished beer.
Hop creep is a challenge for some of the best breweries, so I don’t want anyone to think that I’ve got this solved. But, I’ve found a process that’s currently working for me, or at least working well enough that I don’t find diacytel in my IPAs anymore. First, I like the primary (and largest) hop dose to go in while there’s still active yeast. My belief is that as the hop enzymes break down the starches, there’s still yeast active during fermentation to readily consume those starches. Also, this extends the time from when the VDKs are created, until I keg the beer. Now in an ideal world I would drop that first round of dry hops after fermentation is complete, but I ferment in cheap plastic fermenters.
The beer sits on the hops and yeast cake for around 5 days, or until I’ve seen all signs of yeast activity cease (the clear fermenters really help here). Then I do a soft crash to 50F. Once the beer hits 50F, I add the 2nd dose. I leave the beer to sit on that second dose for only 24 hrs, and then I transfer to keg. The thought here is, hopefully most of the starches that were going to break down, did so during the first big dry hop. Also, enzymes work much slower at cooler temps, and the short 24hr contact period should minimize any additional hop creep from the second dose. I’m also finding I really like the additional pop of hop character from the small, short dose right before kegging. You might have to play around with this in your brewhouse if you’re dealing with hop creep, especially if you’re working with a different yeast strain.
So with all that covered, let’s get to a recipe! This is one of the hop combos i currently love, but as I said above, the fun of brewing hazies is playing with different hop recipes, so feel free to substitute whatever you like and whatever you can get your hands on.
Target OG: 1.074
Target FG: 1.015
ABV: 7.7%
IBU: No clue (the calculated number really doesn’t matter here)
5.5 Gallons
12lbs 2-row
1.5lbs Torrified Wheat
18oz Flaked Oats
5oz Acid Malt
6oz Cane Sugar
Mash at 150* for 60min
4g Apollo @ 60
3oz ea Strata and Azacca at Flameout
1 pk Lallemand Verdant Yeast – Ferment at 66F, raise to 68F after 4 days
Dry Hop 1: (right after high krausen, typically day 4 of fermentation) 3oz Strata, 3oz Galaxy, and 1oz Azacca
Dry Hop 2: (typically day 9 of fermentation > cold crash to 50F, then): 1oz Strata and 1oz Galaxy
Keg 24hrs after Dry Hop 2. Keg on 0.3g potassium metabisulfate.
The beer pictured here was brewed on 02/06, and kegged 02/16. With beers like this, time is not your friend. So I try to get them ready to serve as soon as possible. I burst carb these with 35psi for 24hrs to try to get the beer pretty close to it’s final carbonation. I usually get a healthy amount of hop bite the first 4-5 days it’s in the keg, but after a week on gas, the hop bite fades, and the beer is pretty much fully carbed. Mine are usually at their best around 10-15 days in the keg, but they’re still pretty tasty after 3-4 weeks. 6 weeks is pushing it for my beers, as you can start to notice some the effects of oxidation, and the hops just don’t quite hit the way they did a few weeks before.
Hopefully this helps a few people. For everyone reading (especially to the end of a long post), thanks for coming back after all these years. Cheers and happy brewing!

Wow! So glad you’re back, Scott! I’ve been reading your blog for years and still reference it for old recipes. As a matter of fact, I felt like making a West Coast Double IPA this weekend and was checking out your site. 😀 FYI – I’ve really enjoyed using Imperial Dry Hop for my hazies.
You set a high bar with your posts – worth the wait. I plan to try your recipe.
I love the high dry hopping levels the NEIPA has brought to the table. I’d played around with 6 oz and 8 oz dosages and had felt that the differences between the two were negligible. I’m also a bit skeptical that the haze was a contributor to the package worth going to any trouble to create. What do you think?
Ooohh, good question. To be honest, I haven’t tested it enough to be able to tell you if haze directly impacts flavor.
I can say that the wheat and oats definitely contribute to flavor and mouthfeel, but it’s hard to say that the haze adds anything, other than the appearance people expect.
I’m also skeptical that haze itself is adding much to the beer, but the process and recipe makes it kind of hard to remove without several fining agents.
As for hop dosing, this is where I think everyone should experiment what works for them. For me, anything over 8–9oz is a waste, but ya, it could be 6oz for you and your system/process. For what it’s worth, I think diminishing returns come in pretty hard after 4-6oz.
Pretty shocked to see you posting again. Good to have you back man, I’ve used your blog quite a few times in the past.
I just decided to check your site today and have been checking randomly over the last few years. Glad to hear your doing well and your back. Thank you for all your advice over the years, you’ve been a great help.
Wow, I can’t believe you’re back. I happened upon the site again after reading your comment on a post at HBT and saw the signature so I clicked on it to see if it was still around. lol. Good stuff.
Hey Scott. I have a request and think it would be a big hit. You should try and clone Lagunitas Waldo! ❤️❤️❤️😊